How to install a plugin in WordPress
Method 1: Install a Plugin from the WordPress Repository
This method works for free plugins available on the official WordPress plugin repository.
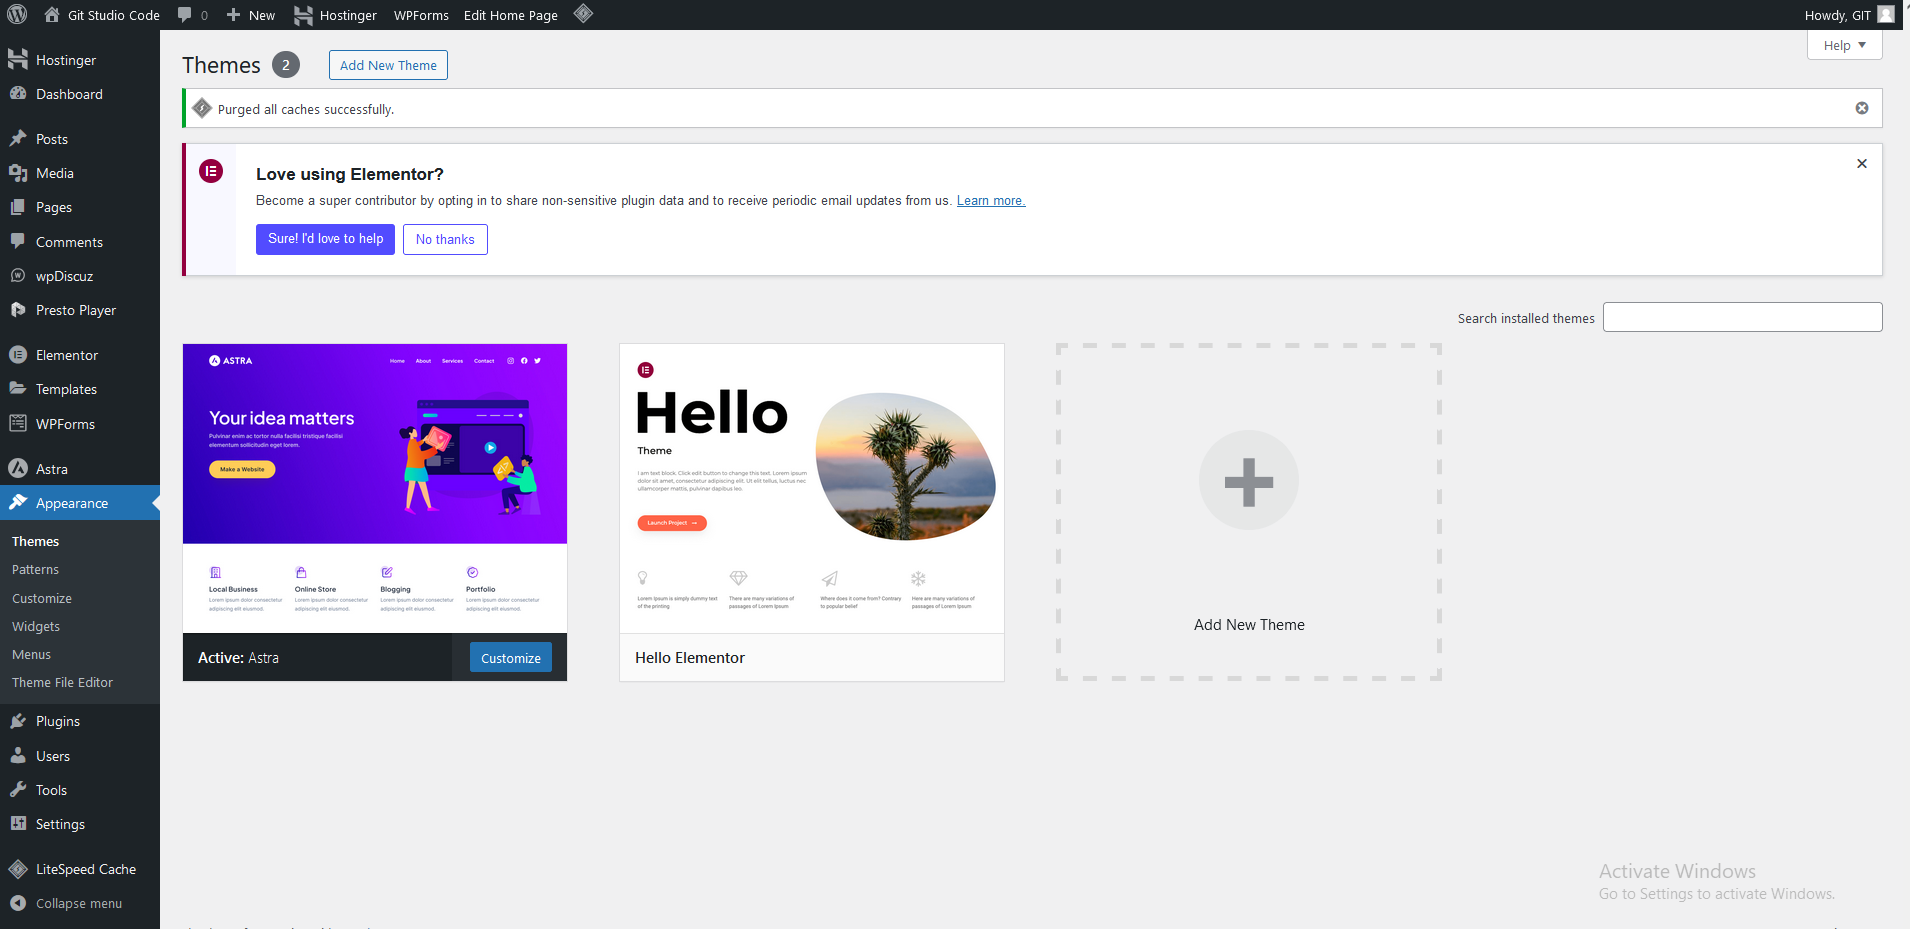
- Log in to your WordPress Dashboard
- Go to
yourdomain.com/wp-admin.
- Go to
- Navigate to the Plugins Section
- In the sidebar, go to Plugins > Add New.
- Search for the Plugin
- Use the search bar to find the plugin (e.g., “Yoast SEO” or “Contact Form 7”).
- Install the Plugin
- Click the Install Now button next to the desired plugin.
- Activate the Plugin
- After installation, click Activate to enable the plugin on your site.
Method 2: Upload a Plugin (Premium or Custom Plugins)
If you’ve purchased a premium plugin or have a custom plugin in .zip format, use this method.
- Download the Plugin
- Ensure you have the plugin’s
.zipfile.
- Ensure you have the plugin’s
- Navigate to the Plugin Upload Section
- In the WordPress Dashboard, go to Plugins > Add New.
- Click the Upload Plugin button at the top.
- Upload and Install
- Click Choose File to select the
.zipfile. - Click Install Now.
- Click Choose File to select the
- Activate the Plugin
- After installation, click Activate to start using the plugin.
Method 3: Install a Plugin via FTP
Use this method if the above options are unavailable or fail.
- Download the Plugin
- Ensure you have the plugin folder (unzipped) or
.zipfile.
- Ensure you have the plugin folder (unzipped) or
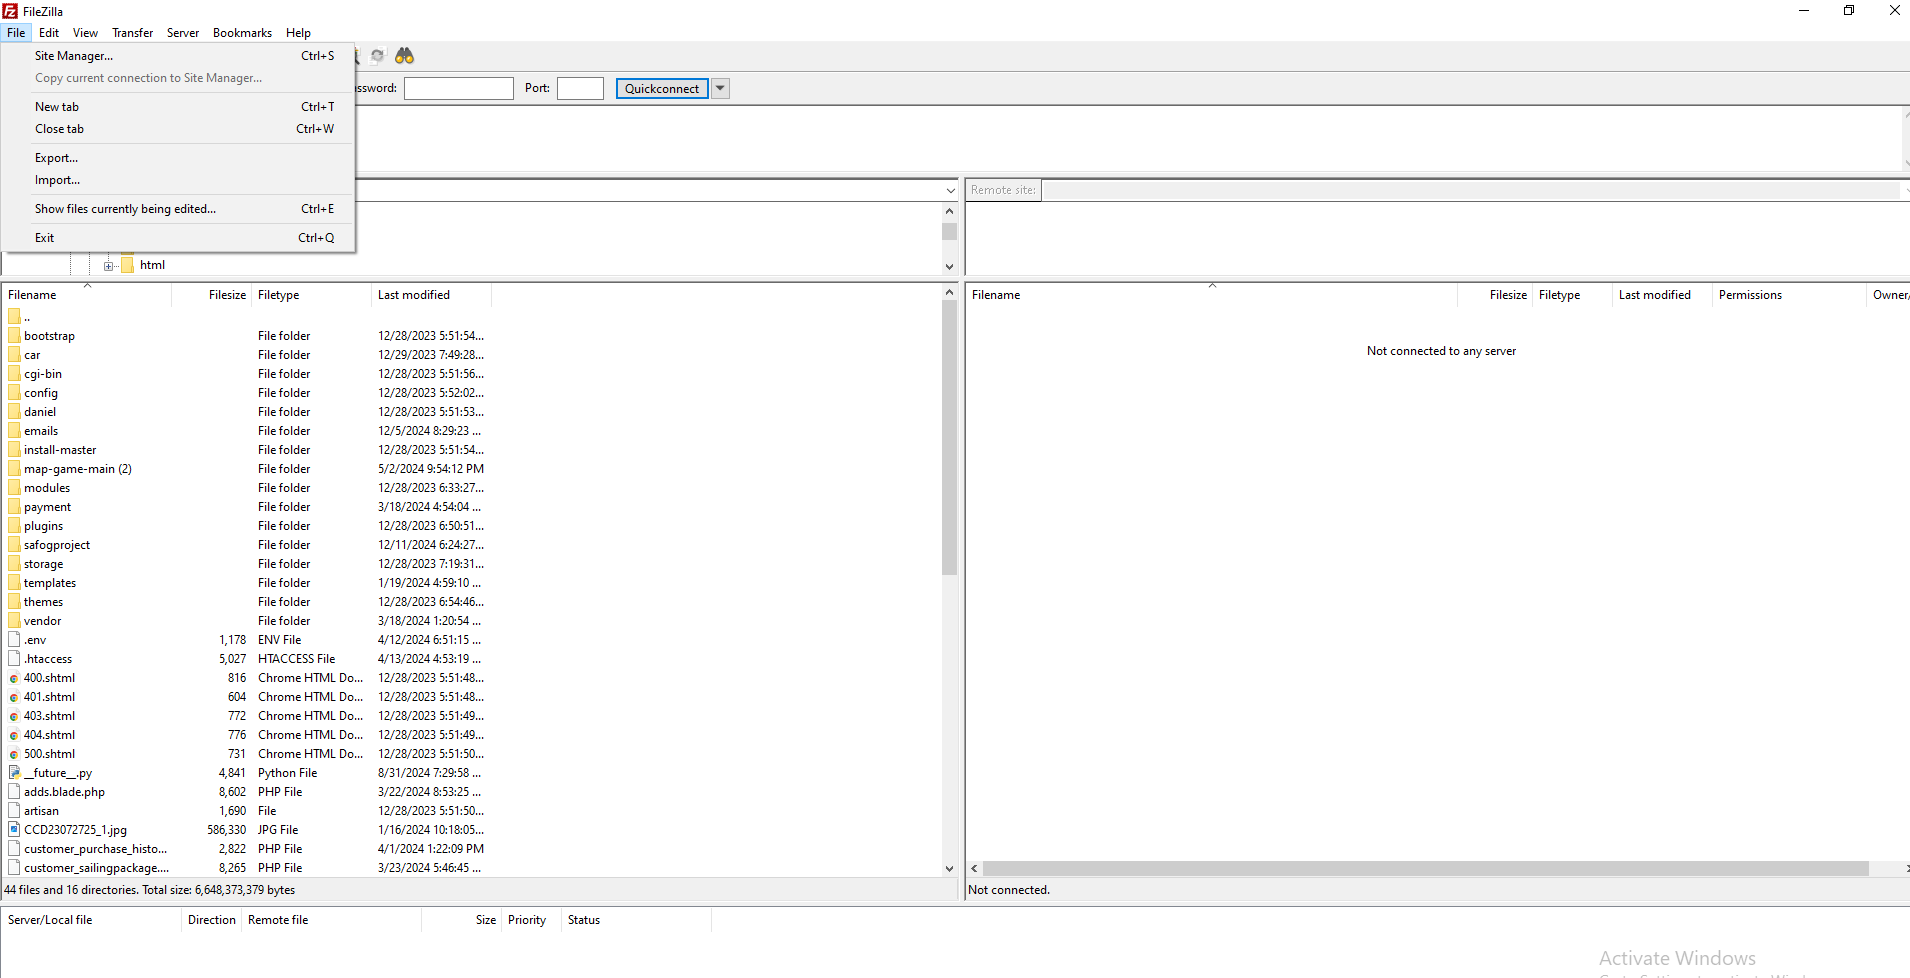
- Access Your Server via FTP
- Use an FTP client like FileZilla.
- Log in with your FTP credentials.
- Navigate to the Plugins Directory
- Go to the
/wp-content/plugins/folder on your WordPress installation.
- Go to the
- Upload the Plugin Folder
- Extract the
.zipfile if necessary. - Upload the plugin folder (not the
.zip) to the/wp-content/plugins/directory.
- Extract the
- Activate the Plugin
- Log in to your WordPress Dashboard.
- Go to Plugins > Installed Plugins and click Activate for the uploaded plugin.
After Installation
- Configure Plugin Settings
- Many plugins have their own settings page. Look for the plugin in:
- The sidebar (e.g., “Yoast SEO”).
- Under Settings in the WordPress Dashboard.
- Many plugins have their own settings page. Look for the plugin in:
- Check Plugin Documentation
- Most plugins have guides or FAQs for proper setup and use.
Would you like assistance with configuring a specific plugin?