
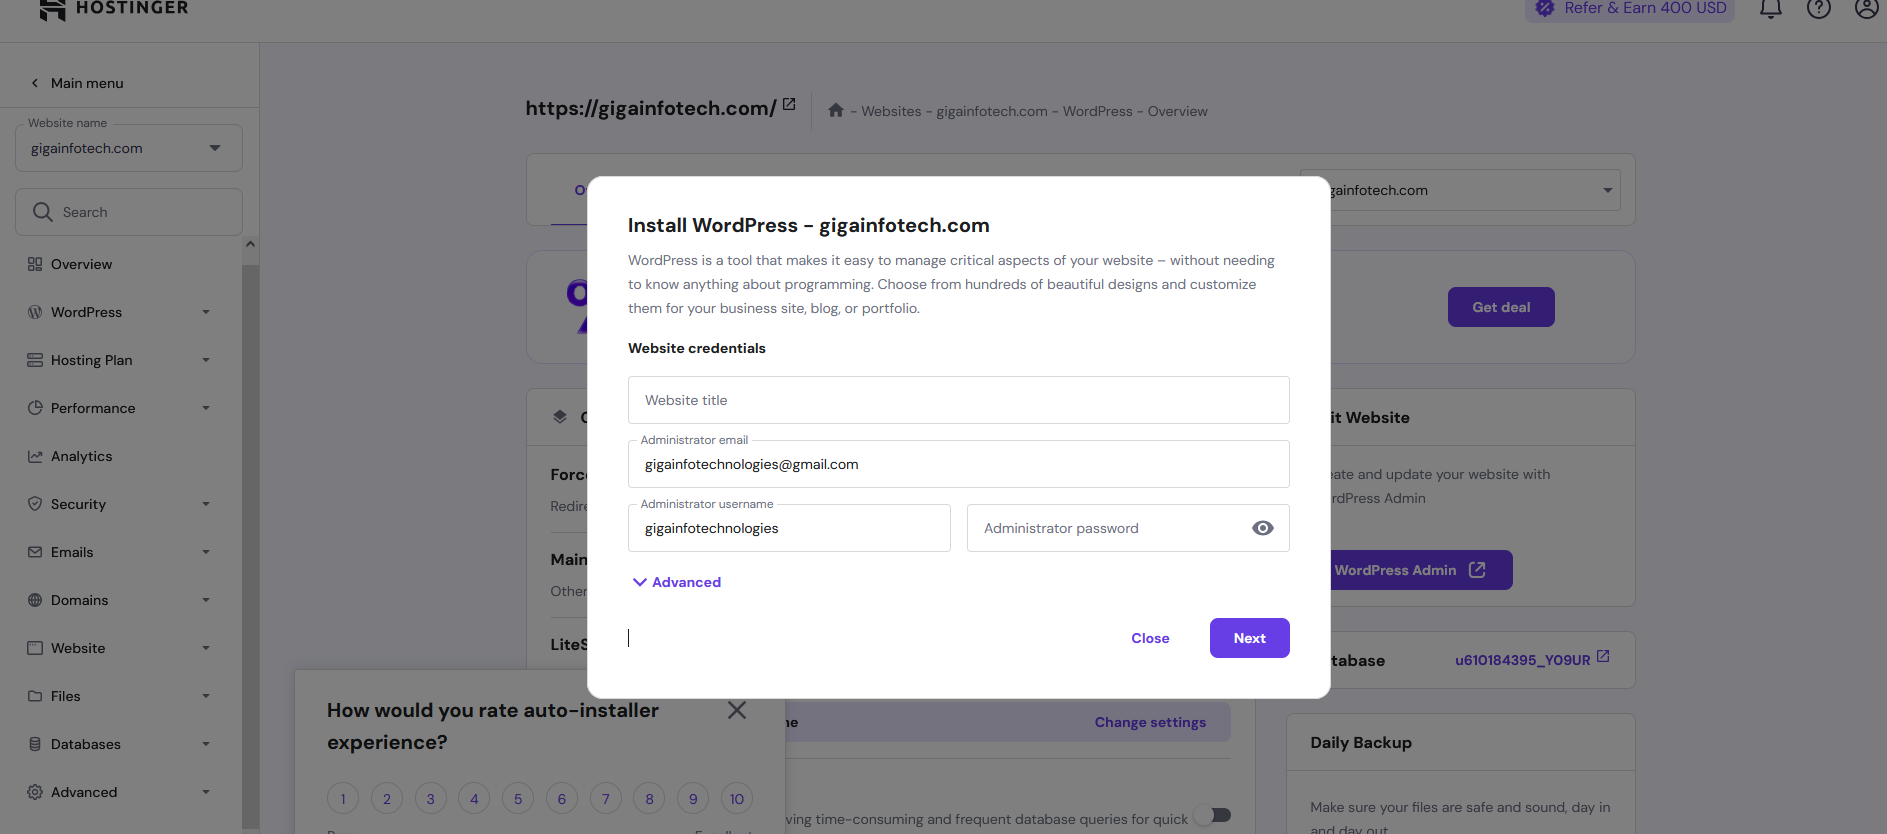
Method 1: One-Click Install via Hosting Provider
Most hosting providers offer a one-click WordPress installation option. Here’s how to use it:
- Log in to Your Hosting Control Panel (e.g., cPanel, Plesk).
- Look for the WordPress Installer (Softaculous, Fantastico, or a custom tool from your host).
- Click on Install WordPress and fill in:
- Site Name and Tagline
- Admin Username, Password, and Email
- Domain Name (choose where to install WordPress)
- Click Install, and the system will set up WordPress for you.
- Access your WordPress site at
https://gigainfotech.com/wp-admin.
Method 2: Manual Installation
If you want more control over the installation process, follow these steps:
1. Download WordPress
- Go to the official WordPress website and download the latest version.

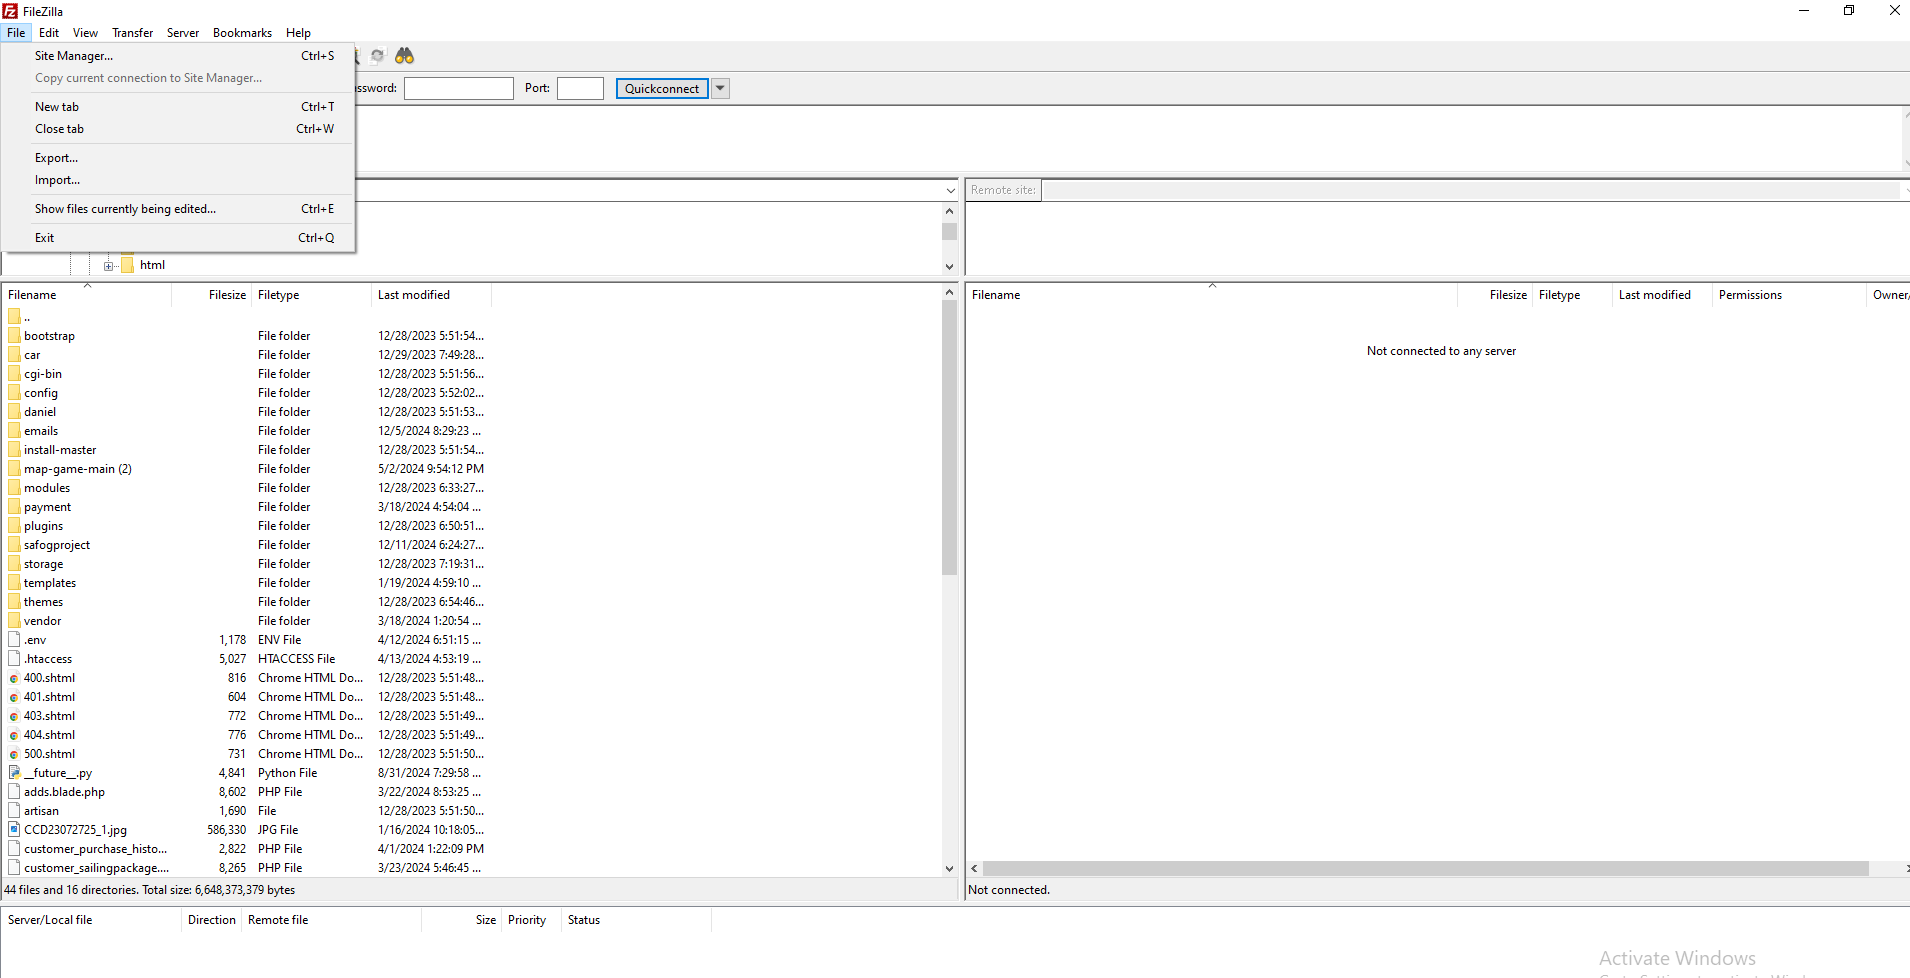
2. Upload WordPress to Your Server
- Unzip the WordPress files.
- Use an FTP client (e.g., FileZilla) to upload the extracted files to your hosting server’s root directory (e.g.,
/public_html).
3. Create a Database
- Log in to your hosting cPanel.
- Open MySQL Database Wizard or Databases section.
- Create a new database, database user, and password.
- Assign the user to the database with All Privileges.
4. Configure wp-config.php
- Locate the
wp-config-sample.phpfile in the WordPress folder. - Rename it to
wp-config.php. - Open the file and enter:
define('DB_NAME', 'your_database_name'); define('DB_USER', 'your_database_user'); define('DB_PASSWORD', 'your_database_password'); define('DB_HOST', 'localhost'); // Usually 'localhost' - Save and close the file.
Method 3: Local Installation (for Testing)
To install WordPress locally, use tools like XAMPP, MAMP, or Local by Flywheel:
- Install the local server software.
- Create a local database.
- Download and extract WordPress into the local server’s web directory.
- Run the WordPress installer at
https://gigainfotech.com/.

Good